Managed Rulesets per Custom Hostname
If you are interested in WAF for SaaS but unsure of where to start, Cloudflare recommends using WAF Managed Rules. The Cloudflare security team creates and manages a variety of rules designed to detect common attack vectors and protect applications from vulnerabilities. These rules are offered in managed rulesets, like Cloudflare Managed and OWASP, which can be deployed with different settings and sensitivity levels.
Prerequisites
WAF for SaaS is available for customers on an Enterprise plan.
If you would like to deploy a managed ruleset at the account level, refer to the Ruleset Engine documentation.
Ensure you have reviewed Get Started with Cloudflare for SaaS and familiarize yourself with WAF for SaaS.
Customers can automate the custom metadata tagging by adding it to the custom hostnames at creation. For more information on tagging a custom hostname with custom metadata, refer to the API documentation.
Step 1 - Choose security tagging system
Outline
security_tagbuckets. These are fully customizable with no strict limit on quantity. For example, you can setsecurity_tagtolow,medium, andhighas a default, with one tag per custom hostname.If you have not already done so, associate your custom metadata to custom hostnames by including the
security_tagin the custom metadata associated with the custom hostname. The JSON blob associated with the custom hostname is fully customizable.
Step 2 - Deploy Rulesets
Log in to the Cloudflare dashboard and navigate to your account.
Select Account Home > WAF.
Select Deploy a managed ruleset.
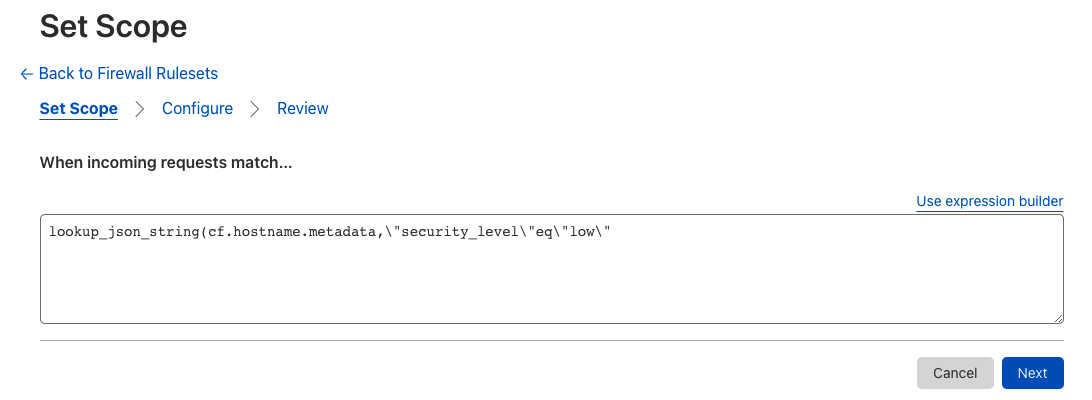
Under Field, Select Hostname. Set the operator as equals. The complete expression should look like this, plus any logic you would like to add:

Beneath Value, add the custom hostname.
Select Next.
Find the Cloudflare Managed Ruleset card and select Use this Ruleset.
Click the checkbox next to each rule you want to deploy.
Toggle the Status button next to each rule to enable or disable it. Then select Next.
On the review page, give your rule a descriptive name. You can modify the ruleset configuration by changing, for example, what rules are enabled or what action should be the default.
Select Deploy.